Getting Started
The first time you open BetterPlane, the app walks you through adding your aircraft: look it up by N-number, confirm the FAA details, and put it in a hangar. It takes a few minutes. The app lists six steps on its What to Expect screen, and this page follows the same numbering, including the steps you can skip.
Welcome
Section titled “Welcome”
- Tap Get Started.
What to Expect
Section titled “What to Expect”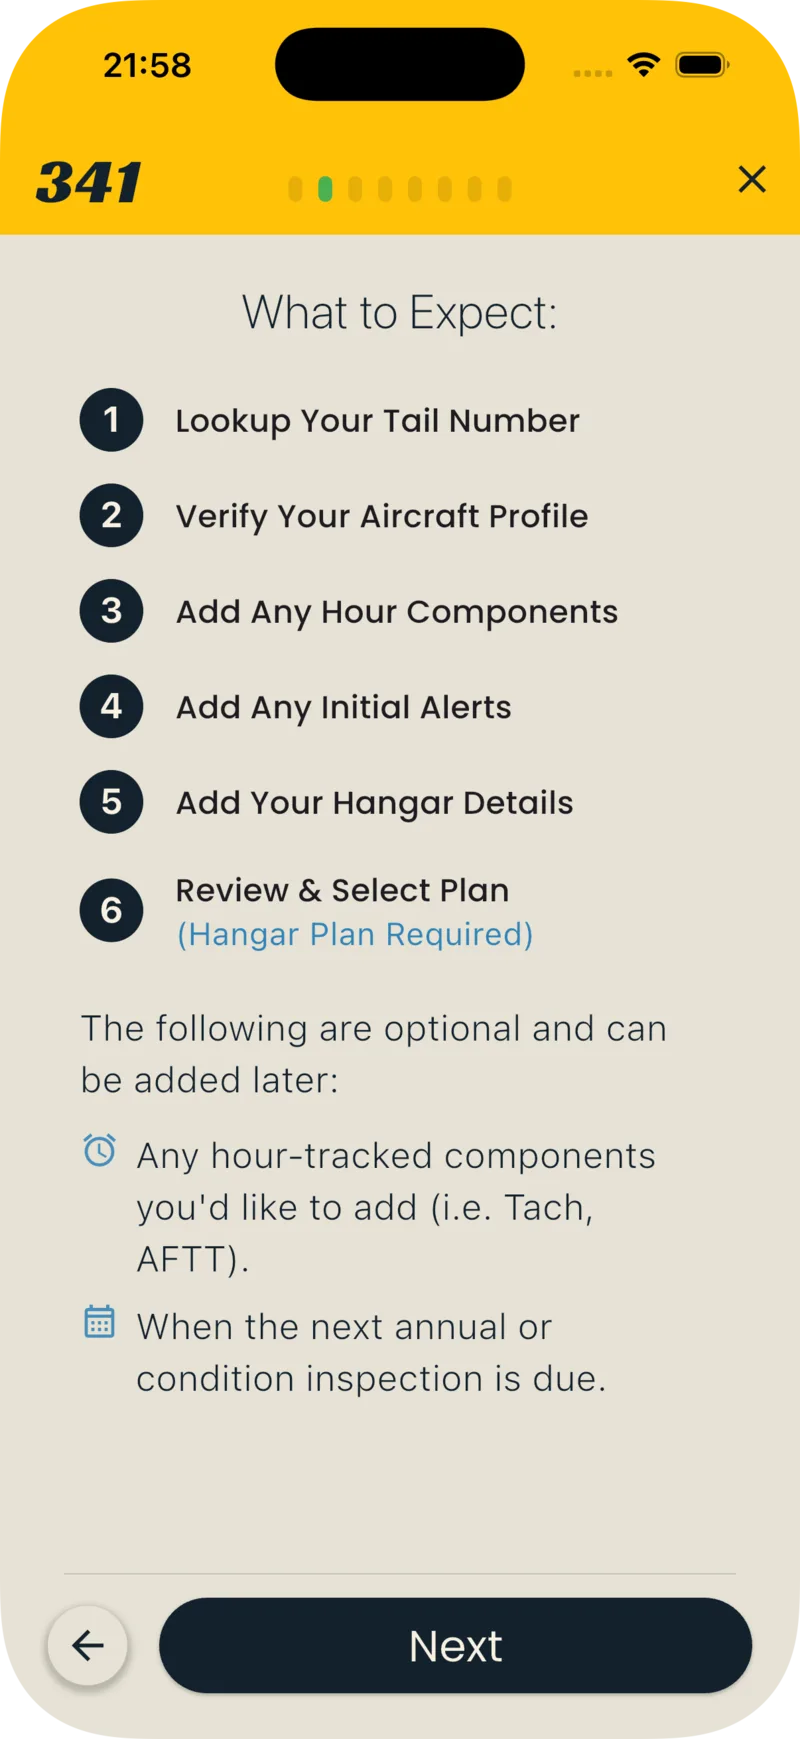
This screen lists the six steps and notes which parts are optional.
- Tap Next.
Step 1: Lookup Your Tail Number
Section titled “Step 1: Lookup Your Tail Number”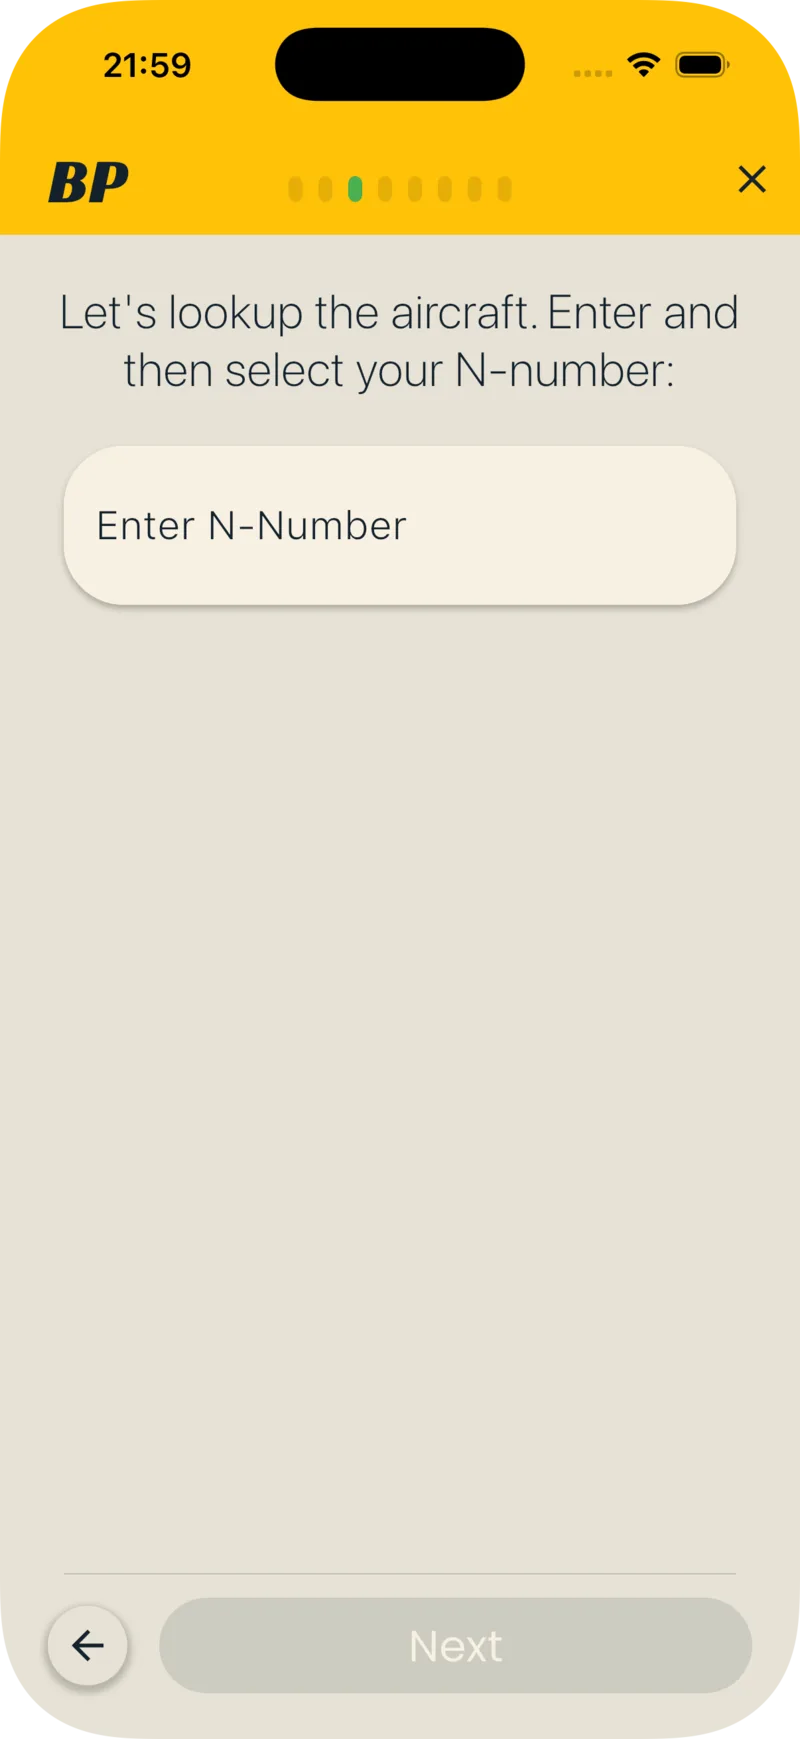
- Start typing your N-number into the field (for example,
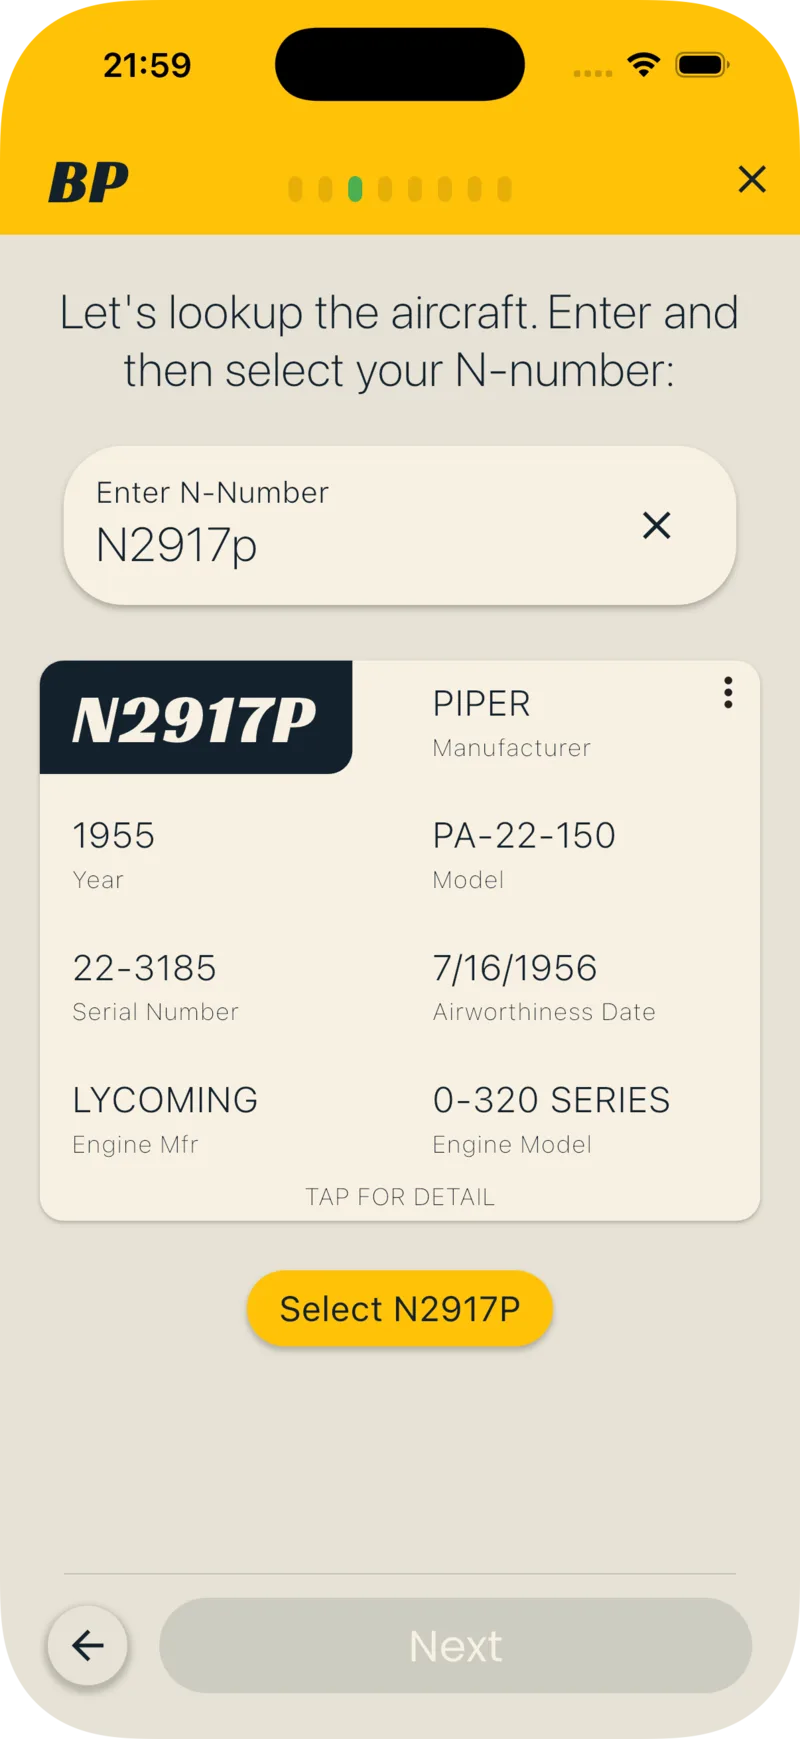
N2917P). Results appear as you type. - Tap your aircraft in the results list.
- Tap Select (the button shows your tail number, for example Select N2917P).
Step 2: Verify Your Aircraft Profile
Section titled “Step 2: Verify Your Aircraft Profile”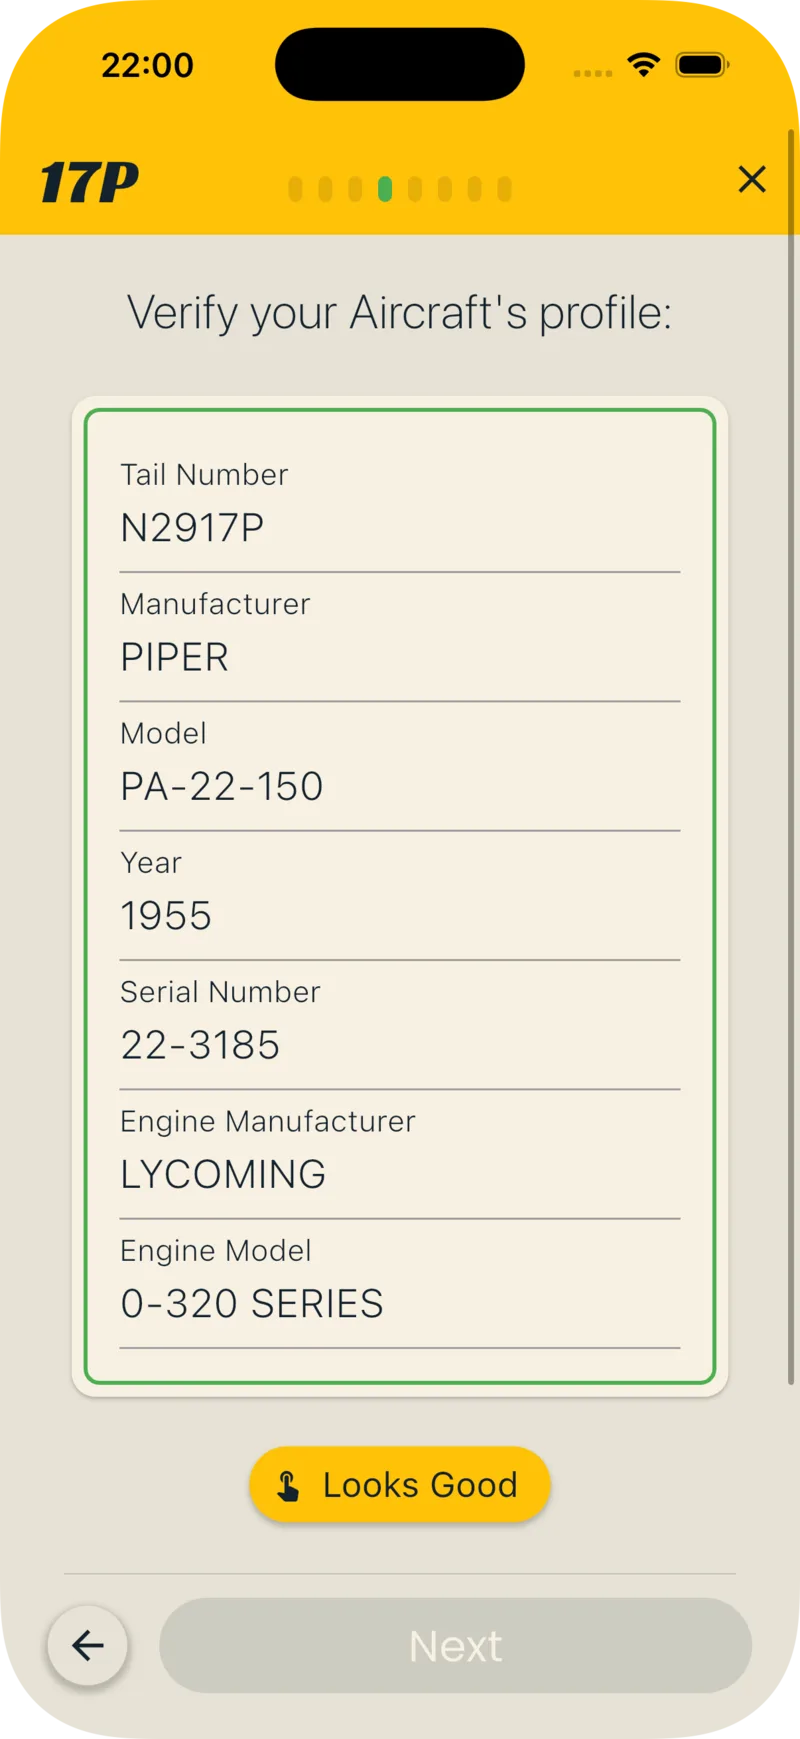
- Check the manufacturer, model, and year fields.
- If the year field is empty, tap the suggestion chip to accept the airworthiness date.
- Tap Looks Good, then Next.
Step 3: Add Any Hour Components
Section titled “Step 3: Add Any Hour Components”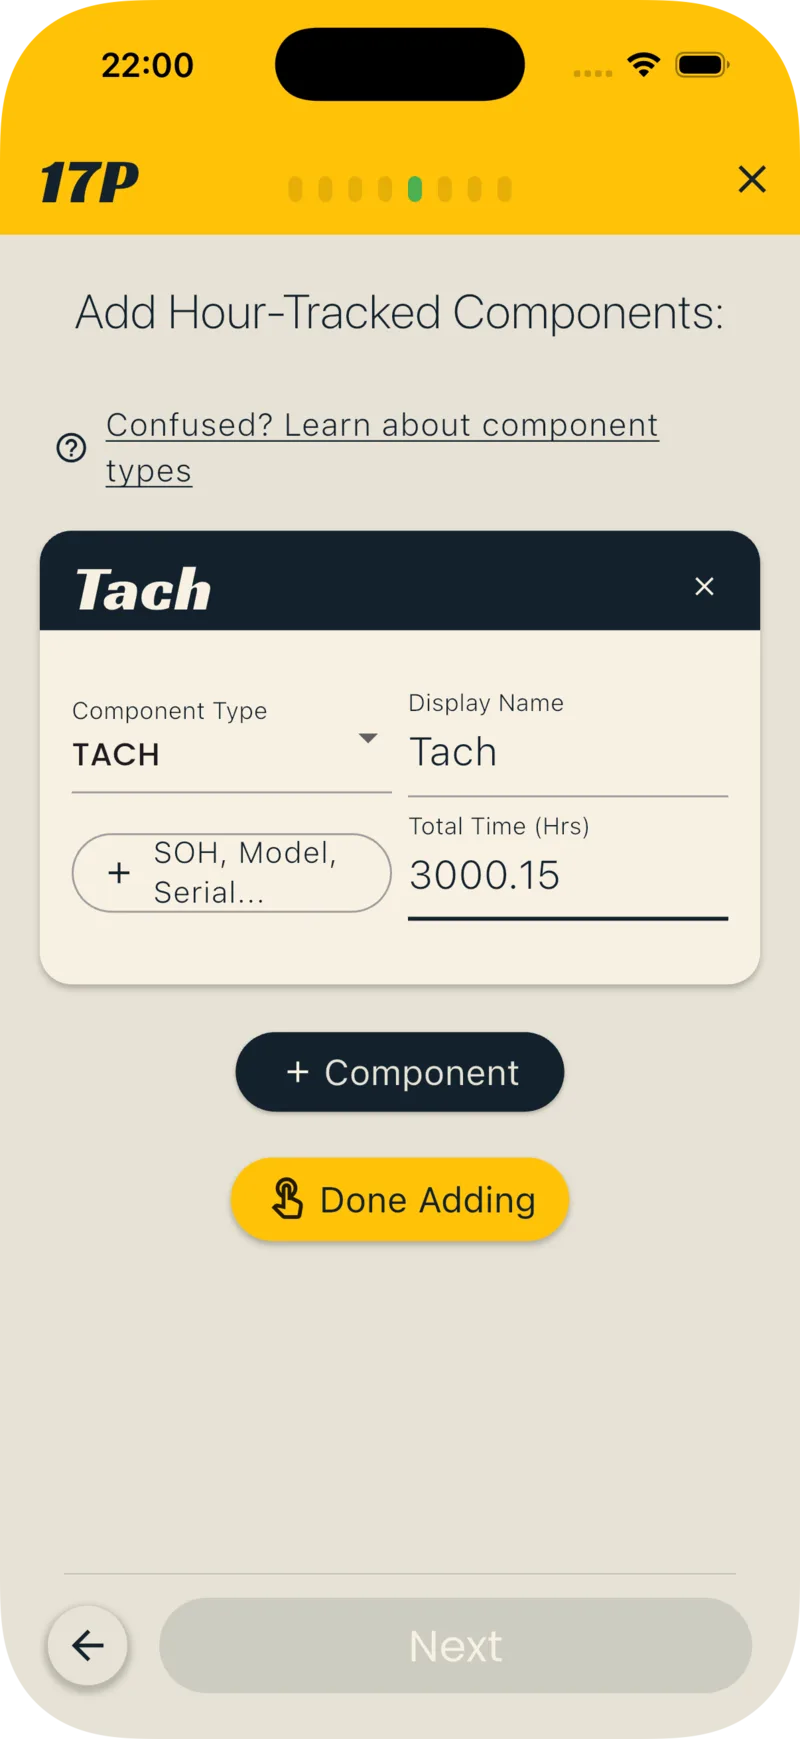
Components are the parts of your aircraft BetterPlane tracks by hours: meters like the tach, and hardware like engines. Hours, fuel, and oil tracking all depend on them. Add them now, or skip and add them later. See Adding Components for what each type means.
- Tap + Component.
- Select a type from the dropdown.
- Enter the current total time.
- Repeat for each component.
- Tap Done Adding, then Next.
To skip, tap Skip (add later), then Next.
Step 4: Add Any Initial Alerts
Section titled “Step 4: Add Any Initial Alerts”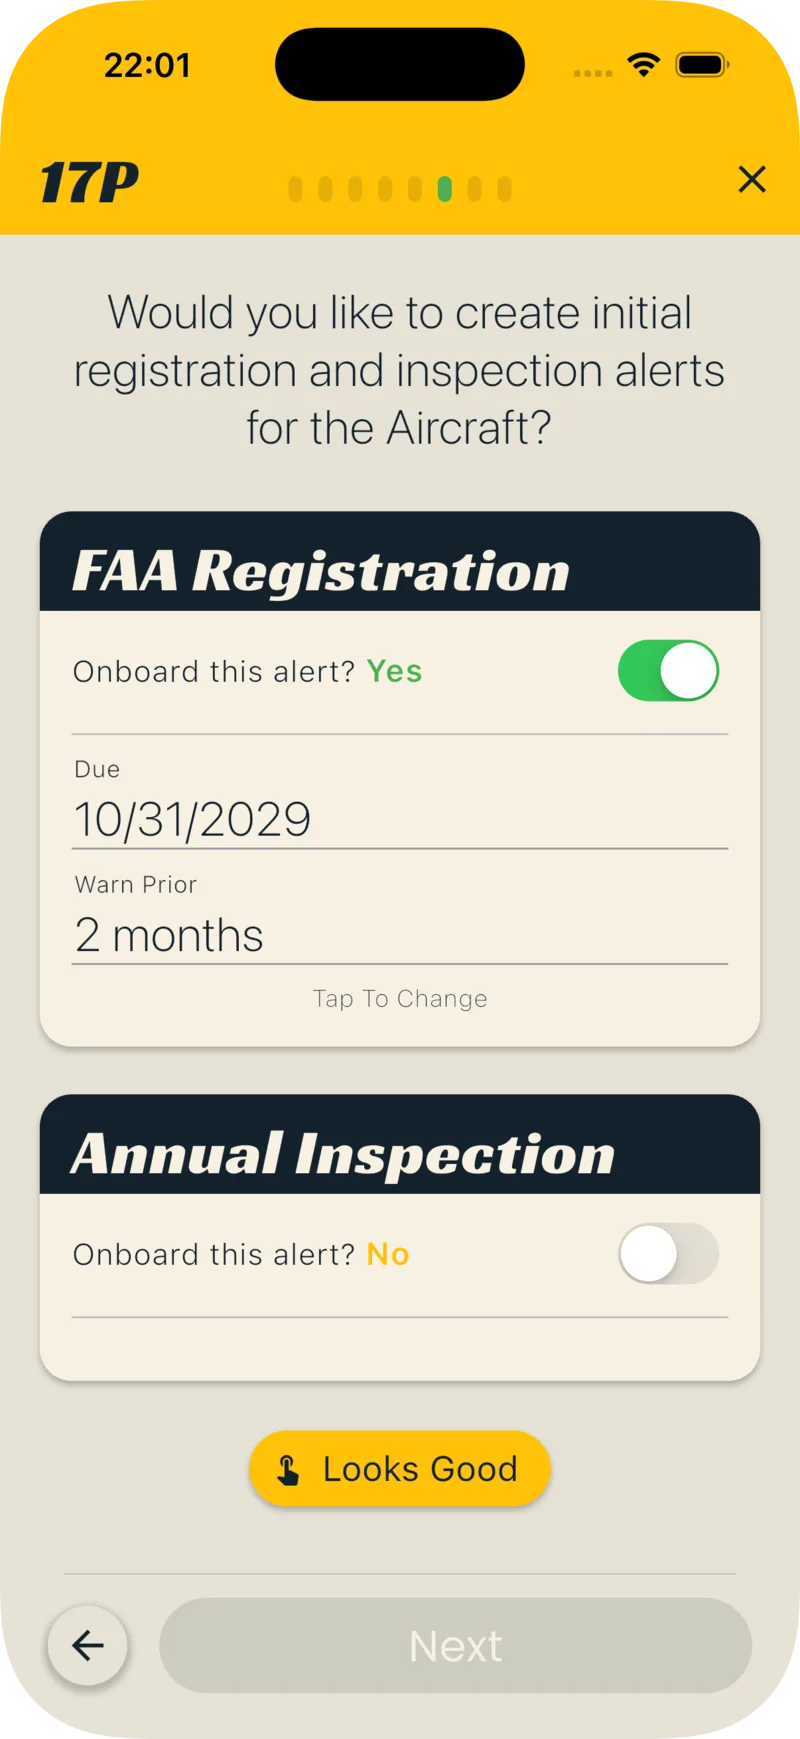
Alerts track your maintenance deadlines by date or by engine hours, and BetterPlane notifies you as they come due. A registration alert is on by default. See Alerts for all the templates.
- Toggle the inspection switch on. It is labeled Annual Inspection, or Condition Inspection for non-type-certificated aircraft.
- Tap the due date field and select the next due date.
- Tap Looks Good, then Next.
To skip, tap Looks Good without changes, then Next.
Step 5: Add Your Hangar Details
Section titled “Step 5: Add Your Hangar Details”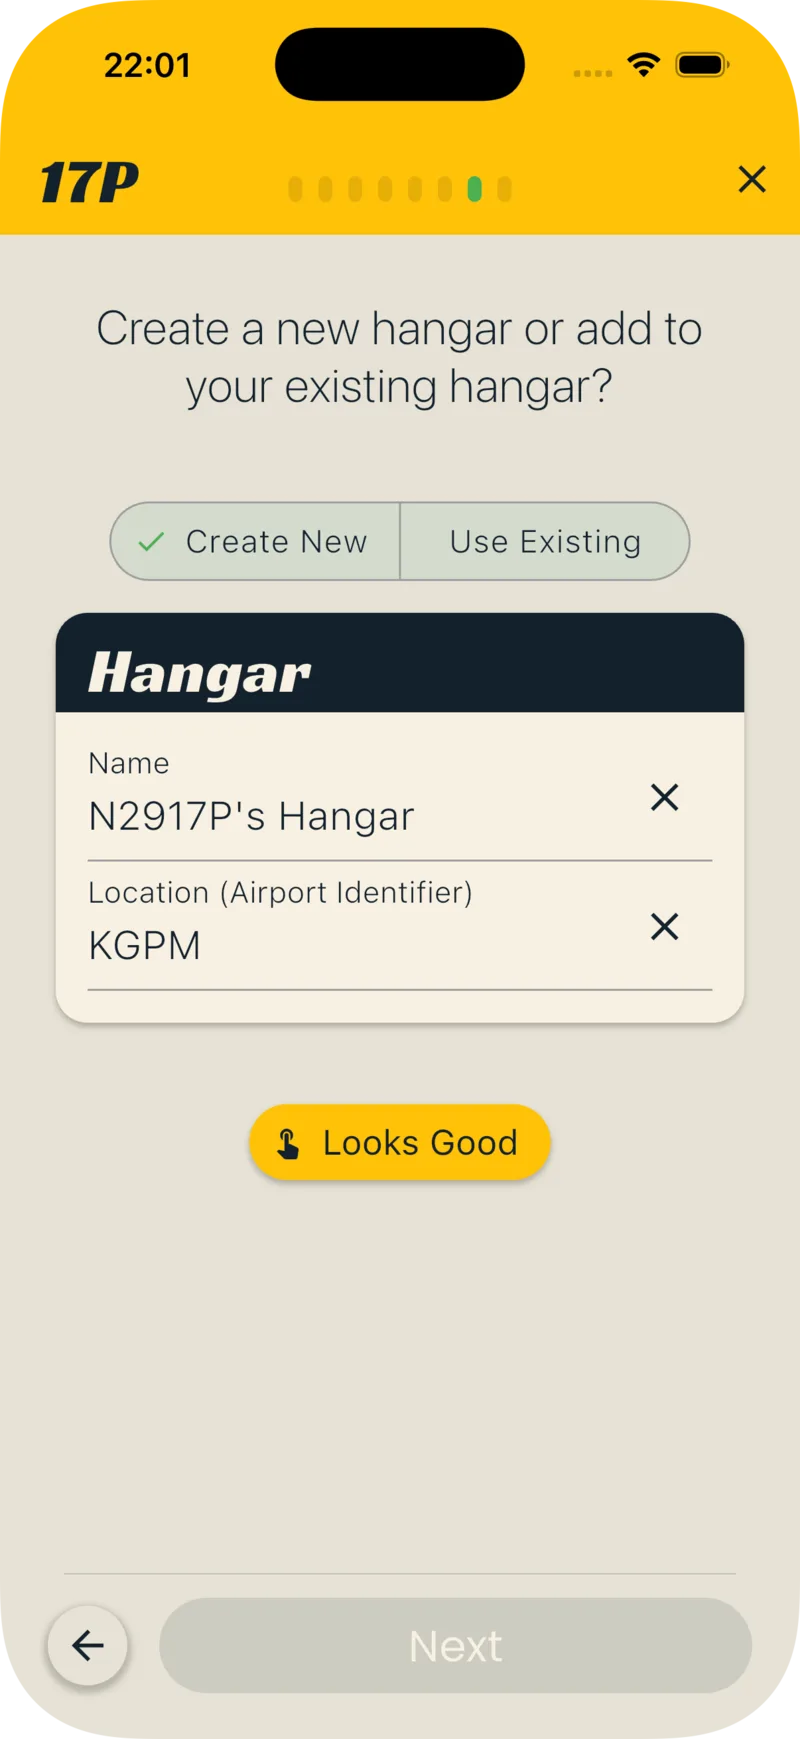
A hangar is a shared workspace for everyone involved with your aircraft. After onboarding, you can invite your co-owners, family, or mechanic, and you all see the same aircraft. See Members & Invites for roles and inviting.
Create a new hangar:
- Tap Create New.
- Enter a hangar name.
- Type your airport code. Tap the matching result from the autocomplete list.
- Tap Looks Good, then Next.
Use an existing hangar:
- Tap Use Existing.
- Tap the hangar from the list.
- Tap Next.
Step 6: Review & Select Plan
Section titled “Step 6: Review & Select Plan”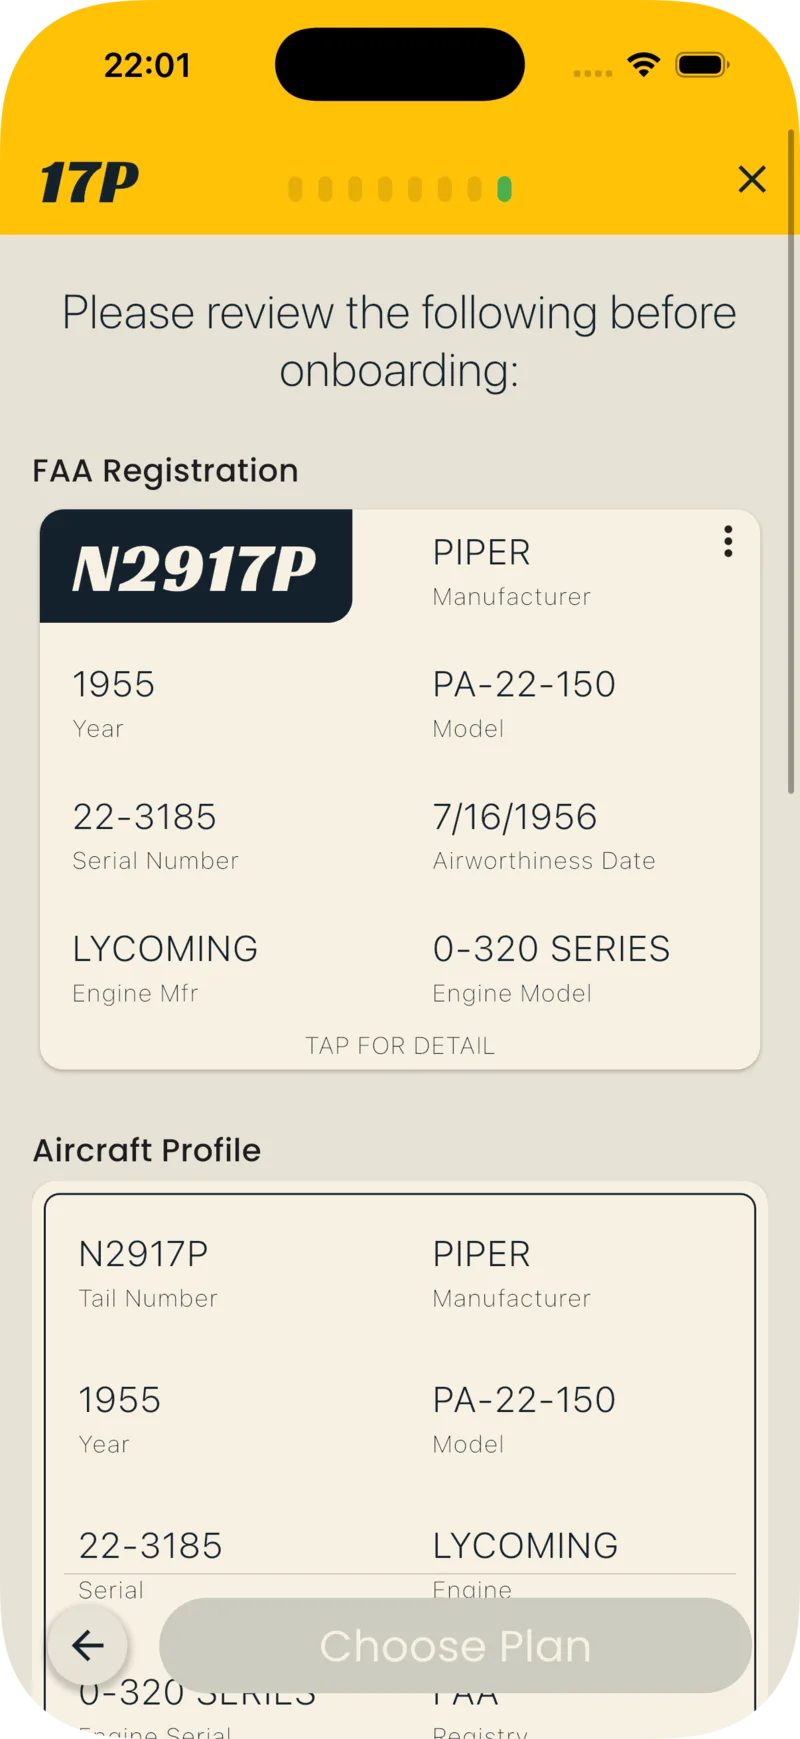
- Review each section: FAA Registration, Aircraft Profile, Hour-Tracked Components, Aircraft Alerts, Hangar Detail.
- Tap Looks Good.
- For a new hangar, tap Choose Plan. For an existing hangar, tap Onboard Aircraft.
The aircraft appears in your hangar. Next, work through the Setup Checklist: components, alerts, photo, members, and logbooks, in the recommended order.